There I was, a humble hobbyist photographer with a few houseplants, a three-point light setup, and a couple of backdrops.
Little did I know I was soon about to embark on a journey that would transform my photography skills and create stunning images of my beloved plants. In this blog post, I’ll share my secrets for taking better home studio photos and help you elevate your own photography game.
Table of Contents
Step 1: Choose the Right Subject and Backdrop
Before you start snapping away, selecting a subject that works well with your home studio setup is crucial.
In my case, houseplants were the perfect choice due to their versatility and natural beauty. When it comes to backdrops, you’ll want to have at least two options: white and black. These backdrops create a clean, uncluttered look and make it easy to adjust the mood and atmosphere of your photos.
Step 2: Master the Art of Three-Point Lighting
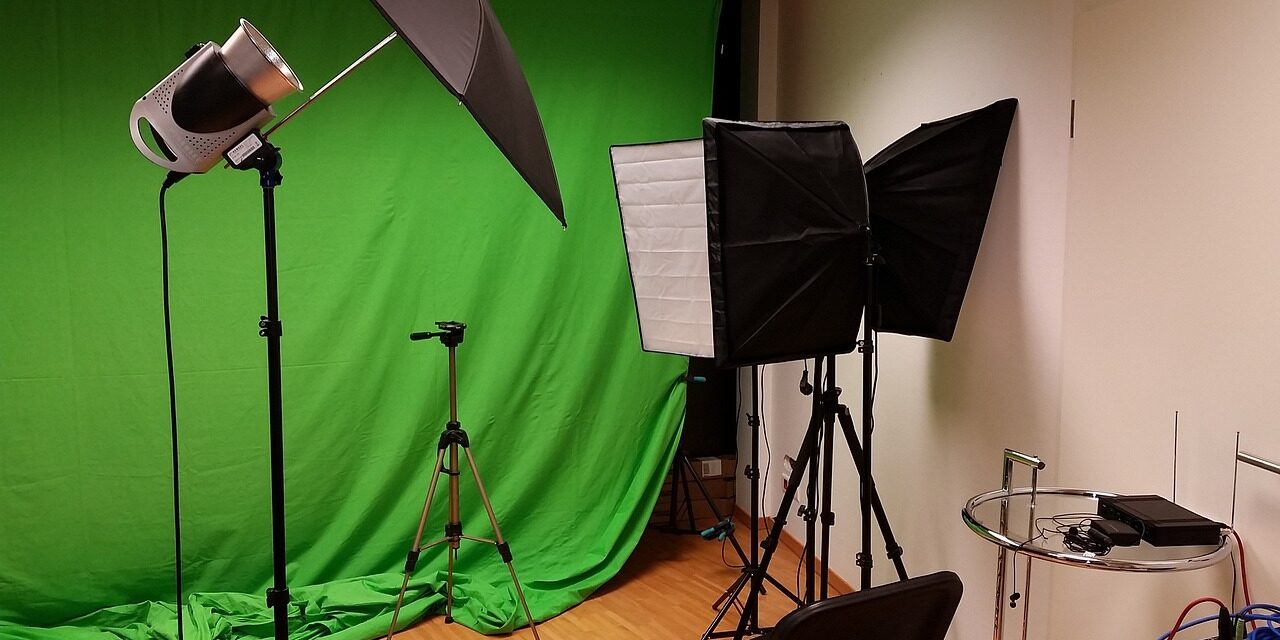
A three-point lighting setup is essential for capturing professional-quality photos. It consists of a key light, a fill light, and a backlight. Here’s a quick breakdown of each:
- Key Light: The primary illumination source, positioned at a 45-degree angle to your subject. This light defines your subject’s shape and texture.
- Fill Light: A secondary light source positioned opposite the key light to reduce shadows and provide even lighting.
- Backlight: Positioned behind your subject to create separation from the backdrop and add depth to your images.
Experiment with the intensity and positioning of your lights to achieve your desired look. Remember, practice makes perfect!
Step 3: Use the Right Lens and Camera Settings
The lens you choose can make all the difference in the quality of your photos.
A 50mm prime lens is ideal for home studio photography due to its versatility and sharpness. Regarding camera settings, start with an aperture of f/8 to ensure a crisp, well-exposed image. Adjust your ISO and shutter speed to suit your lighting conditions.
Step 4: Compose and Frame Your Shots
Composition is critical to creating visually appealing images.
Experiment and practice with different angles and perspectives to find what works best for your subject. Remember the rule of thirds, a tried-and-true technique for framing your shots. Imagine your frame divided into nine equal segments by two equally spaced vertical and horizontal lines. Place your subject along these lines or at their intersections for a more dynamic and balanced composition.
Step 5: Edit Your Photos for the Perfect Finish
Post-processing is essential to polish your images and make them stand out.
Use editing software like Adobe Lightroom or Photoshop to adjust exposure, contrast, and saturation and correct any imperfections. Please don’t overdo it, though! Subtle adjustments often lead to the most professional-looking results.
Your Home Studio Photography Questions Answered
Can I use a smartphone for home studio photography?
Absolutely! While a DSLR or mirrorless camera may offer more control and better image quality, modern smartphones can more than capture stunning photos. Just make sure to use a tripod and a remote shutter release for stability and to avoid camera shake.
How can I add variety to my home studio photos?
Experiment with different props, backgrounds, and lighting setups to create a diverse portfolio. You can also incorporate other subjects, such as still life arrangements, product photography, or portraits of friends and family.
Unleash Your Inner Photographer
These tips let you dive into home studio photography and create eye-catching images.
Remember to stay patient and practice regularly, whether you’re capturing your favorite houseplants, as I did, or exploring other subjects. The more you experiment, the more you’ll learn and grow as a photographer.
Remember to share your progress with others as you embark on your home studio photography journey. Join online photography communities, attend workshops, and contact fellow photographers for support and inspiration.
Lastly, I encourage you to ponder these thought-provoking questions as you develop your skills:
- What unique perspective can you bring to your photography?
- How can you challenge yourself to push the boundaries of your home studio setup?
- What additional tools or techniques can you explore to enhance your images?
As you reflect on these questions, remember that photography’s most important aspect is having fun and expressing your creativity. So go ahead, set up your studio, and capture the magic of your subjects.
Who knows, you might create your photo masterpieces!