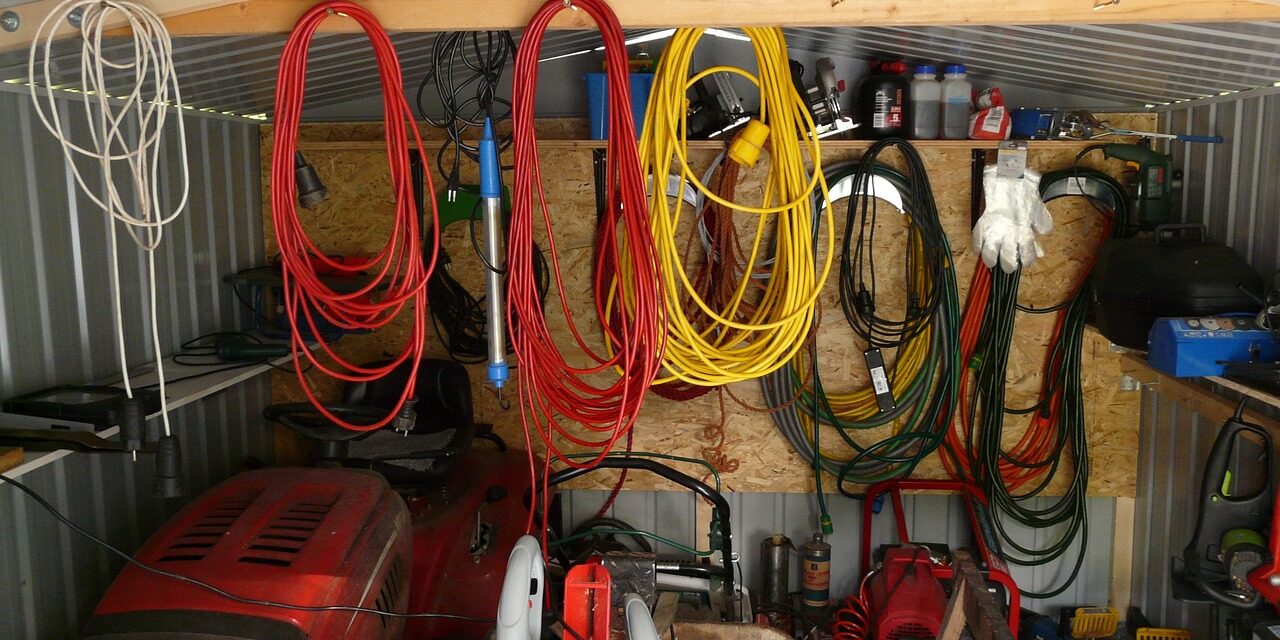
Hey there, organization enthusiasts! Are you tired of wading through the chaos every time you step into your tool shed? I’ve been there and am here to tell you there’s a better way! I transformed my standard 12″ x 8″ shed into a neat, efficient space by strategically organizing garden supplies, camping/miscellaneous items, and tools/landscaping supplies.
Grab your tape measure, and let’s dive into the secrets of a well-organized tool shed!
Table of Contents
Divide and Conquer: Designate Zones for Different Categories
The first step in organizing your tool shed is to designate separate zones for different categories of items. In my shed, I’ve found the following arrangement works best:
- Garden supplies (right side): When you walk in, keep garden supplies like pots, soil, and fertilizer on the right side. This way, they’re easy to access and don’t take up valuable shelf space.
- Camping/miscellaneous supplies (middle): The middle section of the shed is perfect for camping gear and other various items. Store these items in clear plastic bins or sturdy boxes for easy identification and access.
- Tools and landscaping supplies (left side, shelves): Dedicate the shed’s left side to tools and landscaping supplies. Utilize shelves, pegboards, and hooks to keep items organized and off the floor.
Keep the Middle of the Shed Clear for Easy Movement
In a small tool shed, every inch counts. One key to maximizing your space is to keep the middle of the shed clear, allowing room to move around and access stored items quickly. Here are some tips for achieving this:
- Prioritize wall space: Instead of cluttering the floor with items, use wall space for storage. Install hooks, shelves, and pegboards to keep tools and supplies organized and off the ground.
- Create pathways: Ensure there are clear pathways to access all areas of the shed. This makes finding and retrieving items easier and helps prevent accidents and injuries.
Store Gardening Equipment Near the Door for Easy Cleaning
It’s no secret that gardening can be a messy business. To make cleaning up easier, store gardening equipment near the door. This way, you can quickly clean up any dirt or debris before leaving the shed. Consider these organizational tips:
- Use a boot tray: Place a boot tray near the door to hold dirty shoes, gloves, and small tools. This helps contain the mess and makes cleaning up after a day in the garden more manageable.
- Hang long-handled tools: Install hooks or a tool rack near the door to hang shovels, rakes, and other long-handled gardening tools. This keeps them easily accessible and prevents them from taking up valuable floor space.
Tackling Tool Shed Organization Challenges
How do I organize small tools and hardware in my tool shed?
Small tools and hardware can quickly become disorganized and difficult to find. Consider using small bins, pegboards with hooks, or magnetic strips to keep these items organized and easily accessible. Label bins and containers to make it easy to find what you need quickly.
How can I use space in my small tool shed in a maximized way?
In a small tool shed, vertical space is your friend. Utilize wall space by installing shelves, pegboards, and hooks for hanging tools and supplies. Additionally, consider using stackable bins or boxes to store items efficiently and save floor space.
How do I maintain my tool shed organization over time?
Maintaining organization in your tool shed requires some commitment and regular upkeep. Here are ways to stay on track:
- Establish a routine: Set aside time each month (or more frequently, if needed) to review your shed’s organization and make necessary adjustments. Try and stay on top of the clutter and keep things in order.
- Label everything: Use labels for bins, boxes, and shelves to make it easy to identify where items belong. This will make it easier to put things back in their proper place after use.
- Purge periodically: As you accumulate new tools and supplies, you must regularly assess what you have and eliminate items you no longer need or use. This will help prevent your shed from becoming cluttered and disorganized.
Wrapping Up: Enjoy Your Organized Tool Shed
Following these organization tips and strategies, you can transform your 12″ x 8″ tool shed into a well-organized, efficient space. Remember to designate zones for different categories of items, keep the middle of the shed clear for easy movement, and store gardening equipment near the door for quick clean-ups. With a little effort and some creativity, you’ll be well on your way to conquering the clutter and enjoying your organized tool shed.
Now that you have the knowledge and tools to tackle your tool shed organization project, what ideas or challenges do you have?


